
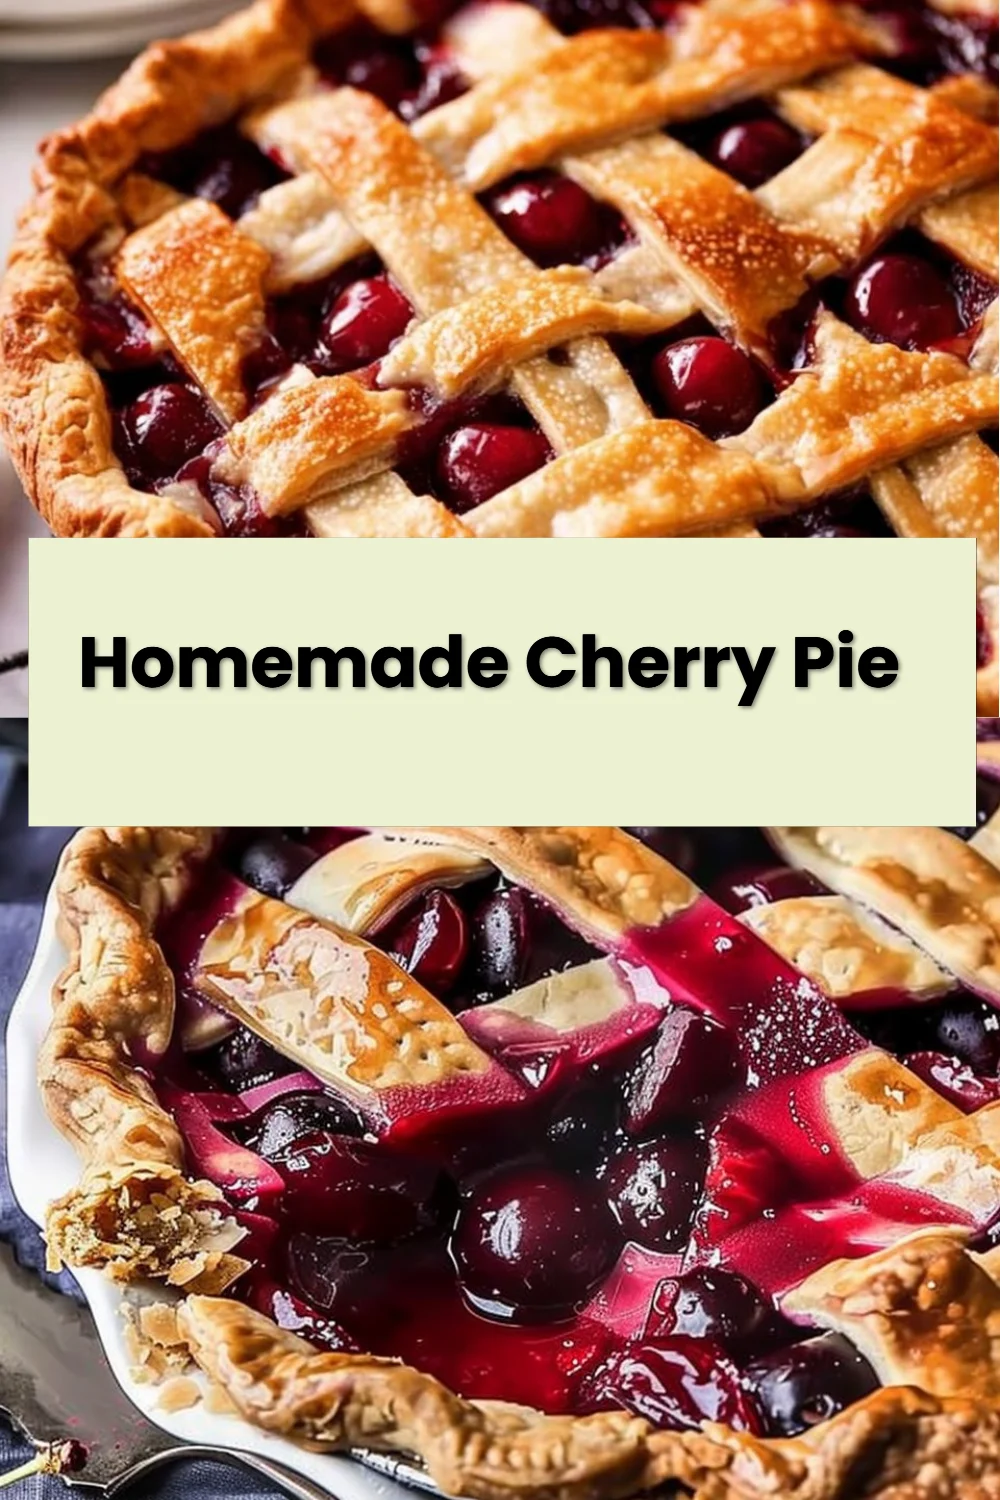
Homemade Cherry Pie is one of those desserts that feels like a warm hug on a plate, bright with tart cherries and wrapped in flaky, buttery pastry. If you love classic pies, you might also enjoy this delicious Irish potato pie as another comforting option to try.
why make this recipe
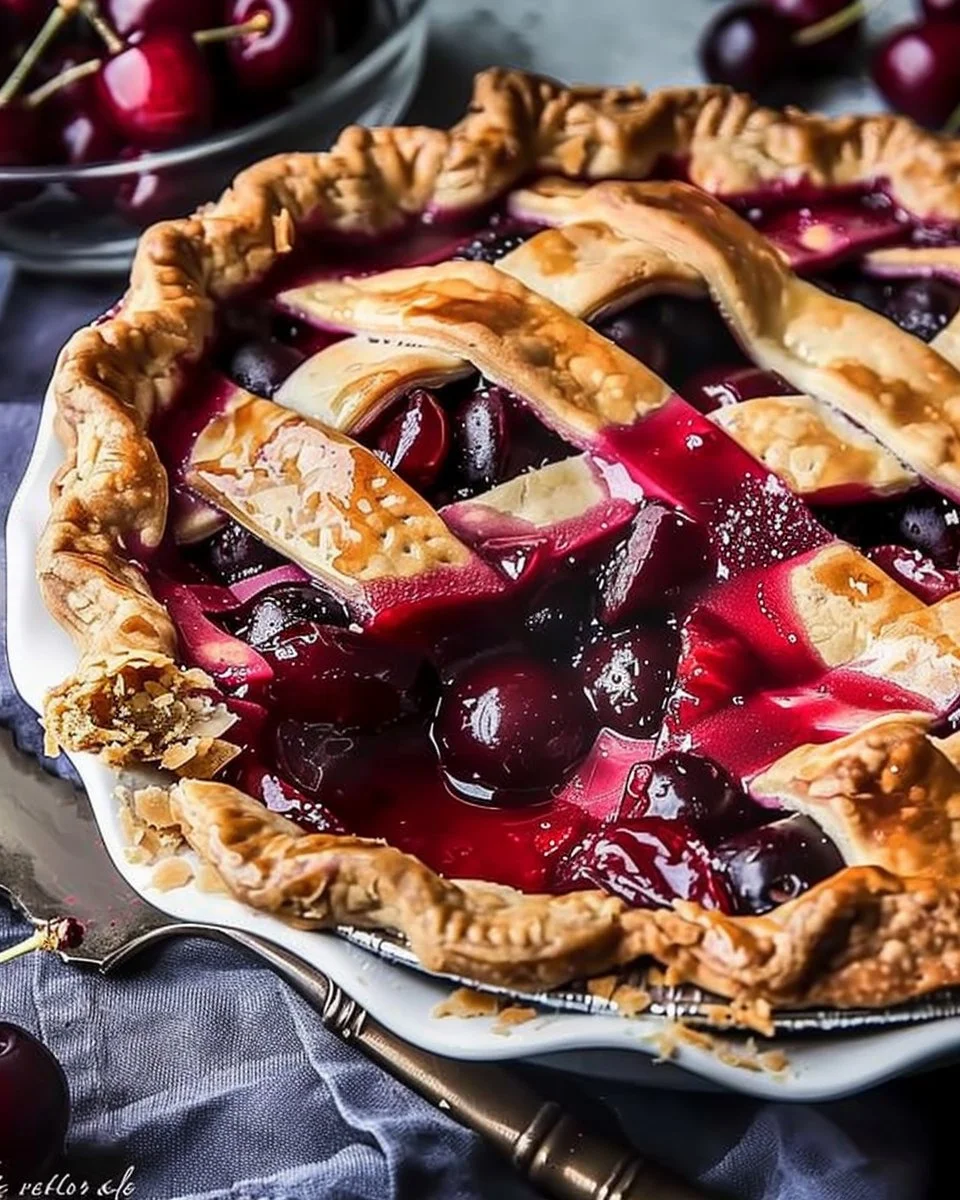
Making a Homemade Cherry Pie at home is rewarding in ways a store-bought pie can’t match. Fresh or frozen cherries give a vibrant color and natural tang that bakes into a glossy, bubbling filling. A homemade crust—whether you roll it yourself or use a high-quality store-bought crust—adds texture and fragrance that instantly makes your kitchen smell like a bakery. This recipe is approachable for bakers of all levels and can be adjusted to suit tastes and dietary needs. It’s great for family dinners, holiday gatherings, or any time you want a nostalgic dessert that’s both simple and impressive.
Beyond flavor, making this pie gives you control over sweetness, thickeners, and add-ins like almond extract or citrus zest. You can make the filling ahead of time, freeze an assembled pie for later, or serve slices warm with vanilla ice cream for a classic pairing. If you enjoy exploring pies, this recipe is an excellent base to practice techniques like lattice tops, crimped edges, or using decorative cutters.
how to make Homemade Cherry Pie
This recipe is straightforward and uses basic ingredients. The key steps are preparing the filling so it thickens nicely, handling the crust gently so it stays flaky, and baking at a high enough temperature to set the crust while allowing the filling to bubble through the vents. Below I’ll walk through practical tips for each stage so your pie turns out glossy, not soggy, and slices cleanly.
Start by gathering everything before you begin—this mise en place approach keeps the process calm. If you’re using frozen cherries, no need to thaw them completely; just break up any large clumps. Cornstarch gives a clear, smooth filling; if you prefer a thicker, more jam-like texture, you can increase the cornstarch slightly or add a tablespoon of quick-cooking tapioca. When sealing the top crust, pinch edges firmly but don’t overwork the dough, and make sure to cut adequate vents so steam escapes. A quick egg wash on top gives a professional golden sheen.
If you want a step-by-step guide with photos for a different savory pie technique, check out this approachable Irish potato pie recipe for plating and crust ideas that translate well to sweet pies.
Ingredients :
- 2 cups fresh or frozen cherries
- 1 cup granulated sugar
- 2 tablespoons cornstarch
- 1 tablespoon lemon juice
- 1 teaspoon vanilla extract
- 1 tablespoon butter
- 1 pie crust (store-bought or homemade)
- 1 egg (for egg wash)
Ingredient notes and simple substitutions
- Cherries: Fresh bing or sour cherries work best. If using frozen, toss them in straight from the freezer—just separate any stuck pieces. Rainier cherries are sweeter and lighter in color, producing a milder filling.
- Sugar: You can reduce sugar to 3/4 cup if you prefer a less sweet pie, or substitute part of it with coconut sugar for a deeper caramel note. If you use very sweet cherries, trim the sugar a bit.
- Cornstarch: This gives a clear, glossy finish. Sub in 1 tablespoon of quick-cooking tapioca for slightly different texture, or 2 tablespoons of all-purpose flour if you don’t have cornstarch (the filling will be a bit cloudier).
- Lemon juice: Adds brightness and helps balance sweetness. Orange juice can be used for a milder citrus flavor.
- Butter: Dotted on top adds richness. For a dairy-free option, use vegan butter or a small drizzle of neutral oil.
- Pie crust: Store-bought crusts are fine and save time. If you want homemade, use an all-butter or half-butter half-shortening crust for a tender, flaky result.
- Egg (for egg wash): For a vegan wash, use a light brush of milk alternative mixed with a touch of maple syrup for sheen.
Directions :
- Preheat your oven to 425°F (220°C).
- In a medium bowl, combine the cherries, sugar, cornstarch, lemon juice, and vanilla extract. Mix well and set aside.
- Roll out the pie crust and place it in a pie dish.
- Pour the cherry mixture into the crust and dot with butter.
- Cover with a second crust, seal the edges, and cut slits in the top crust to allow steam to escape.
- Brush the top crust with an egg wash (beaten egg) for a golden finish.
- Bake in the preheated oven for about 30-35 minutes or until the crust is golden and the filling is bubbly.
- Allow to cool before serving.
A few clarifying notes on the directions
- Preheat fully: Start with the oven fully preheated. A hot oven helps the crust begin to set quickly, so it browns without overcooking the filling.
- Mixing the filling: Stir until the cornstarch is evenly distributed so you don’t get lumps. Let the filling sit for a few minutes so the cornstarch hydrates; it will thicken more as it cooks.
- Crimping vs. venting: If you’re using a full top crust, cut slits or vents to let steam escape. For a lattice top, leave 1-2-inch gaps so the filling can bubble through cleanly.
- Bake placement: Place the pie on a baking sheet to catch any overflow. If the edges brown too quickly, tent them with foil.
- Cooling: Cooling for at least 1–2 hours helps the filling set so slices hold together. If you’re impatient, serve warm scoops instead of neat slices.
Pro Tips for Success Homemade Cherry Pie
- Chill the dough and keep it cold: Cold pastry yields flakier crust. If your kitchen is warm, pop the rolled bottom crust back in the fridge for 10–15 minutes before baking.
- Prevent a soggy bottom: Pre-bake the bottom crust for 5–7 minutes (blind bake) or sprinkle a thin layer of ground almonds or breadcrumbs on the crust before adding filling to absorb excess moisture.
- Use a thickening test: If you’re unsure about cornstarch amount, cook a small spoonful of the filling in a saucepan until bubbling—if it thickens to a jammy texture, it’s ready.
- Even browning: Brush only the top crust with egg wash and tent edges with foil if they brown faster than the center.
- Sweetness and tartness balance: Taste your cherries raw; if they’re very tart, keep the sugar as listed. If very sweet, cut sugar to 3/4 cup.
- Slice cleanly: Chill the pie until the filling is firm before slicing. A hot-knife technique—dip a sharp knife in hot water and wipe it between slices—helps create smooth slices.
Flavor Variations Homemade Cherry Pie
- Almond-cherry: Add 1/2 teaspoon almond extract to the filling and sprinkle 2 tablespoons of sliced almonds on top of the crust before baking. Almond and cherry are classic partners.
- Citrus boost: Add 1–2 teaspoons of orange zest to the cherry filling for a bright, citrusy note that complements the fruit.
- Spiced cherry pie: Stir 1/4 teaspoon cinnamon and a pinch of ground ginger into the filling for a warm, spiced variation that’s lovely in cooler months.
- Cherry-berry mix: Replace 1 cup of cherries with 1 cup of fresh blueberries or raspberries for a mixed-berry filling with layered sweetness.
- Boozy aroma (non-alcohol substitute): Instead of spirits, stir 1 tablespoon of cherry or apple juice concentrate into the filling for depth; or increase lemon juice for tartness without alcohol.
Serving Suggestions Homemade Cherry Pie
Homemade Cherry Pie shines with simple accompaniments that complement its warmth and sweetness:
- Classic: A scoop of vanilla ice cream melting over a warm slice is timeless.
- Whipped cream: Lightly sweetened whipped cream or a dollop of crème fraîche adds creaminess without masking the cherry flavor.
- Cheese pairing: A thin slice of mild cheddar or a smear of mascarpone can be a surprising and delightful contrast—try a small piece on the side to experience salty-sweet balance.
- Beverage pairings: Serve with coffee, black tea, or a fruity iced tea. For non-alcoholic cocktails, sparkling water with a splash of lemon and fresh mint works well.
- Garnish: Finish slices with a light dusting of powdered sugar or a small sprig of mint for color.
Storage and Freezing Instructions Homemade Cherry Pie
Short-term storage:
- At room temperature: If you plan to eat the pie within 1 day and it’s cool, you may store it loosely covered at room temperature. Keep it away from direct heat and sunlight.
- In the refrigerator: For up to 3–4 days, cover the pie with plastic wrap or store in an airtight container. Chilled pie slices set firmer and are easier to slice.
Freezing:
- Unbaked assembled pie: Assemble the pie on a baking sheet and flash-freeze until firm (1–2 hours). Wrap tightly in plastic wrap and foil and freeze for up to 3 months. Bake from frozen—add 10–15 minutes to the baking time and cover edges if needed.
- Fully baked pie: Cool completely, then wrap tightly and freeze for up to 2 months. Thaw overnight in the refrigerator and reheat at 350°F (175°C) for 15–20 minutes to crisp the crust.
- Slices: Freeze individual slices on a tray, then transfer to a sealed container to make reheating quick and easy.
Reheating tips:
- Warm slices in a 350°F oven for 10–15 minutes covered with foil to prevent over-browning. For a crisp top, remove the foil for the last 3–5 minutes.
- Avoid microwaving whole slices for reheating when you want to preserve crust texture; use the oven for best results.
Nutrition Facts (Per Serving) — Homemade Cherry Pie (approximate)
- Calories: 360 kcal
- Protein: 3 g
- Carbohydrates: 52 g
- Fat: 15 g
- Fiber: 2 g
- Sodium: 210 mg
Nutrition notes
- These values are approximate and assume 1/8 of the pie per serving using standard pie crust and filling quantities above. Using a homemade all-butter crust typically raises fat and calorie values slightly. Reducing sugar, using a lower-fat crust, or serving smaller slices will reduce overall calories and carbs.
FAQ About Homemade Cherry Pie
What kind of cherries should I use for the best flavor?
The best cherries for pie are typically tart or sour varieties like Montmorency, which hold their shape and provide a bright, balanced flavor once baked. Sweet cherries like Bing can also work, producing a richer, sweeter filling; if you use sweet cherries, consider reducing the sugar slightly. If fresh cherries aren’t in season, frozen cherries are an excellent option—use them directly from the freezer and adjust thickener amounts if excess juice appears.
How do I prevent a soggy bottom crust?
A soggy bottom often comes from excess moisture in the filling or insufficient heat under the crust during baking. Prevent this by: blind baking the bottom crust for 5–7 minutes before adding the filling; sprinkling a thin layer of ground nuts, breadcrumbs, or crushed biscuits on the bottom crust to absorb moisture; and ensuring your oven is fully preheated. Also, avoid overloading with very watery fruit—if cherries are extra juicy, stir the filling on the stovetop until it thickens a bit before filling the crust.
Can I make the pie ahead of time and bake it later?
Yes. You can assemble the pie and refrigerate it for a few hours before baking; for longer delays, freeze the assembled, unbaked pie. To freeze: flash-freeze on a sheet until the top crust is firm, then wrap tightly with plastic and foil. When baking from frozen, add 10–15 minutes to the bake time and tent the edge with foil if it browns too quickly. For best texture, bake from frozen rather than thawed for a crisper crust.
How do I keep the filling from leaking through the vents?
Leakage happens when vents are too large or the filling is very liquid. Use moderate-size slits (1–2 per quadrant) if using a full top crust, or create a lattice top to leave controlled gaps. Also, make sure cornstarch or another thickener is evenly mixed into the filling and has had a minute to hydrate before you fill the crust. Placing the pie on a rimmed baking sheet catches any spills and protects your oven.
Is there an easy dairy-free or vegan swap for the egg wash and butter?
Yes. For an egg-free wash, brush the top crust with a milk alternative (soy, almond, or oat milk) mixed with a teaspoon of maple syrup for color, or use melted coconut oil. For butter, replace it with a vegan butter or a small amount of neutral oil dotted across the filling. Keep in mind that these swaps change the flavor slightly but still produce a tasty pie with a golden finish.
How can I tell when the pie filling is fully cooked?
A fully cooked filling will be bubbling through the vents and will thicken as it cools. Look for steady bubbling in the center and around the edge after 30–35 minutes at 425°F. If the crust is browning too fast before the filling bubbles, lower the oven to 375°F and continue baking until the filling is active; tent the crust edges with foil to prevent over-browning. Cooling the pie for at least an hour helps the filling set so slices are clean.
Final Thoughts
Homemade Cherry Pie is a satisfying, crowd-pleasing dessert that rewards patience and a few simple techniques with a flaky crust and glossy, flavorful filling. Whether you’re baking for a holiday, a family dinner, or just because you want something sweet and comforting, this pie is reliable and adaptable. Keep notes on tweaks you make—sugar level, spice additions, crust type—so your next pie is even closer to perfect. Enjoy the warm, nostalgic comfort of a slice served with cold ice cream, whipped cream, or a simple cup of tea.
Print
Homemade Cherry Pie
- Total Time: 50 minutes
- Yield: 8 servings
- Diet: Vegetarian
Description
A comforting dessert featuring tart cherries wrapped in flaky, buttery pastry, perfect for family dinners or holiday gatherings.
Ingredients
- 2 cups fresh or frozen cherries
- 1 cup granulated sugar
- 2 tablespoons cornstarch
- 1 tablespoon lemon juice
- 1 teaspoon vanilla extract
- 1 tablespoon butter
- 1 pie crust (store-bought or homemade)
- 1 egg (for egg wash)
Instructions
- Preheat your oven to 425°F (220°C).
- Combine the cherries, sugar, cornstarch, lemon juice, and vanilla extract in a medium bowl. Mix well and set aside.
- Roll out the pie crust and place it in a pie dish.
- Pour the cherry mixture into the crust and dot with butter.
- Cover with a second crust, seal the edges, and cut slits in the top crust to allow steam to escape.
- Brush the top crust with an egg wash for a golden finish.
- Bake in the preheated oven for about 30-35 minutes or until the crust is golden and the filling is bubbly.
- Allow to cool before serving.
Notes
Chill the dough before baking for a flaky crust. If using frozen cherries, add a little more cornstarch to thicken the filling.
- Prep Time: 15 minutes
- Cook Time: 35 minutes
- Category: Dessert
- Method: Baking
- Cuisine: American