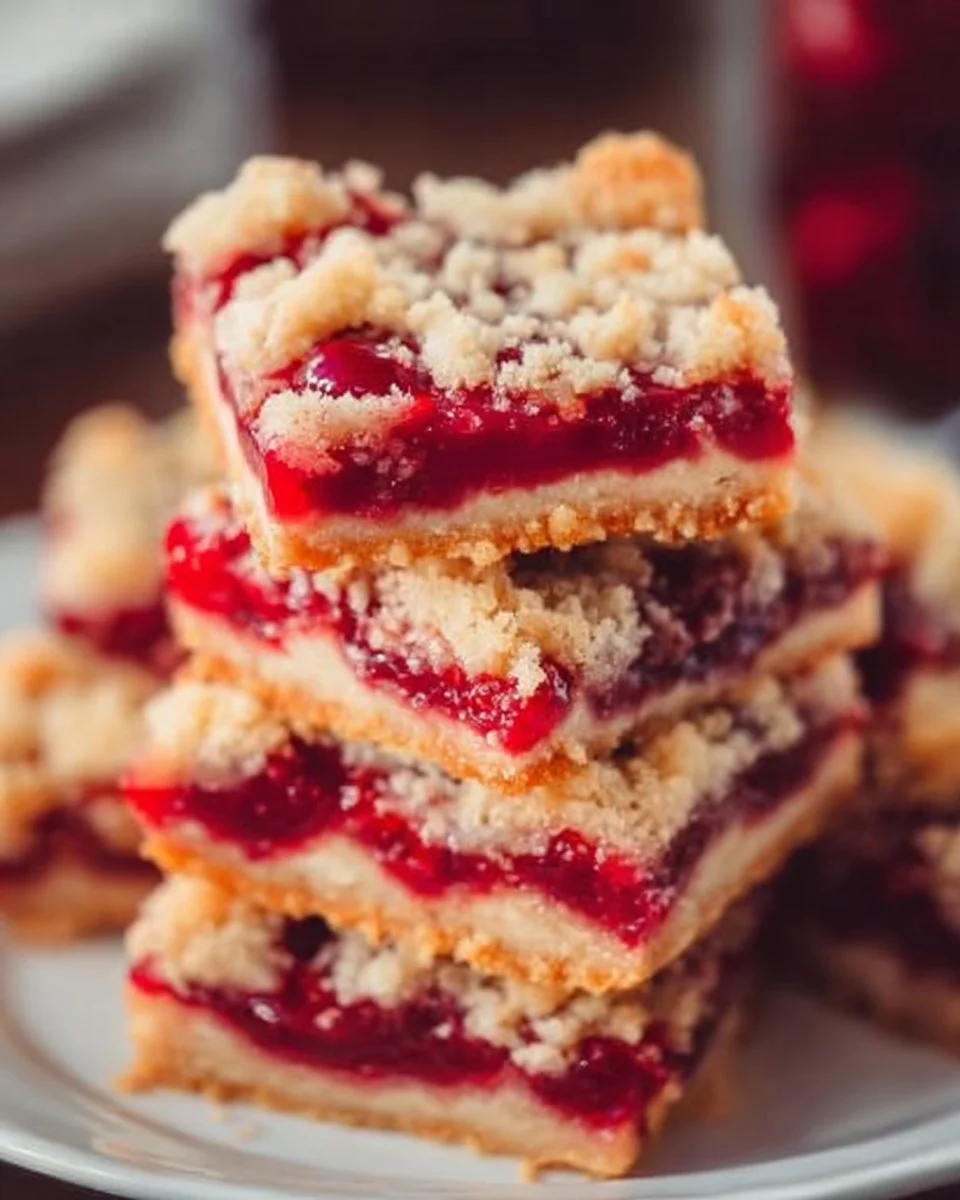
Cherry Pie Bars are a wonderfully simple dessert that captures the flavor of a classic cherry pie in an easy-to-slice bar form, perfect for potlucks, school lunches, or a cozy weeknight treat. If you love traybakes and handheld sweets, you might also enjoy the delicious Irish potato pie for another comforting option. These bars combine a tender shortbread-like crust, a bright cherry filling, and an oat-brown sugar crumble topping, finished with a light vanilla glaze.
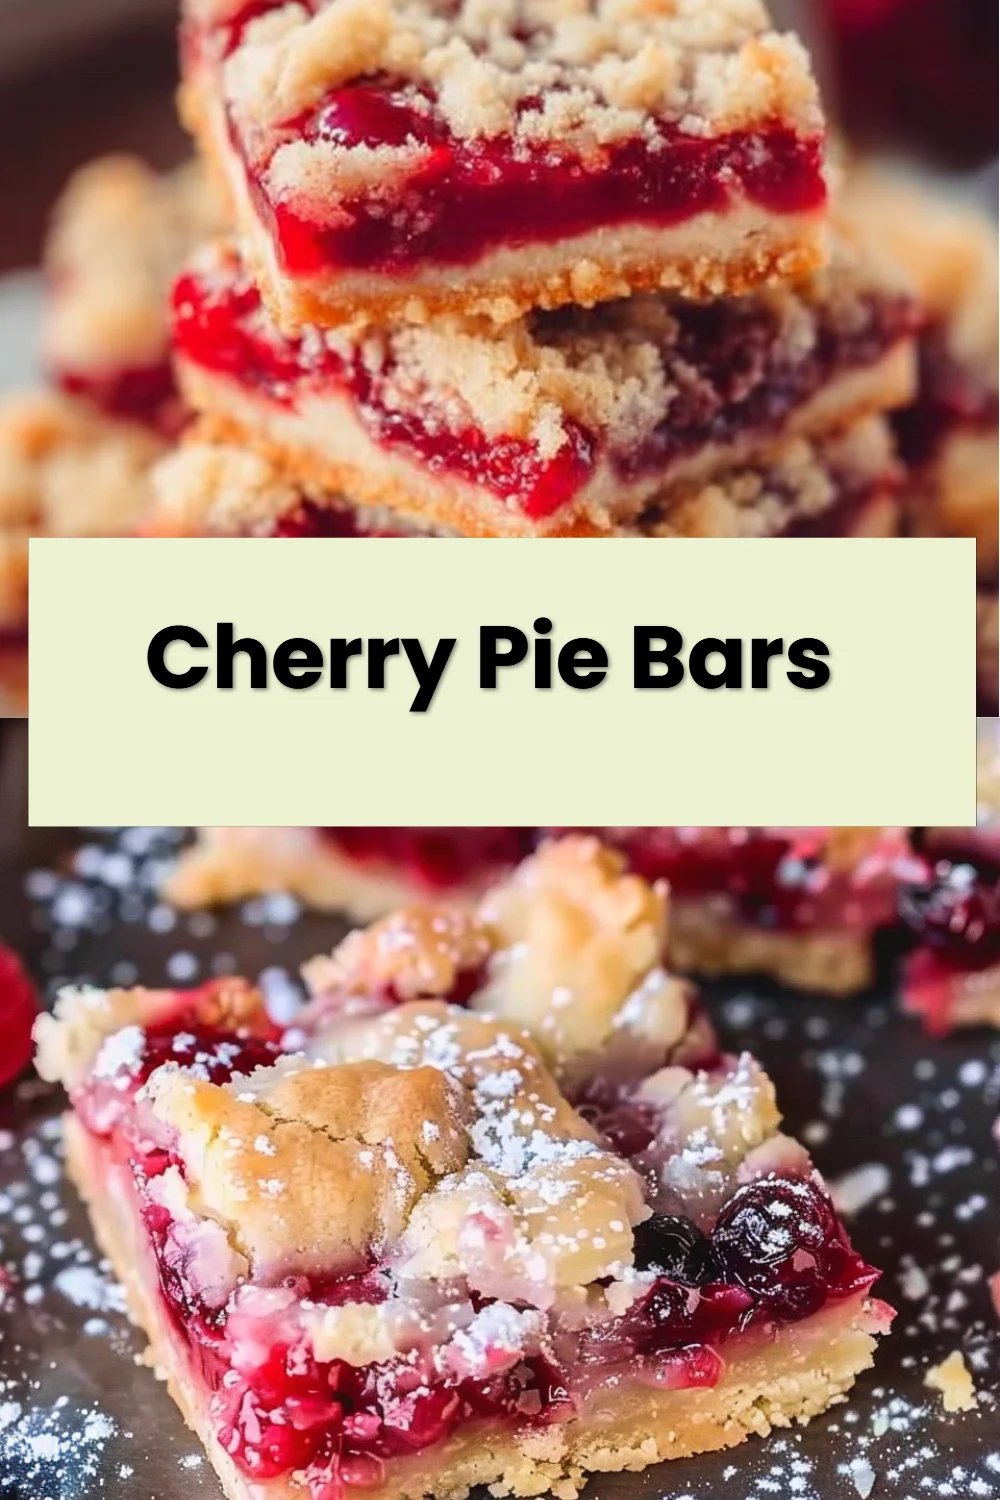
Cherry Pie Bars
Why make Cherry Pie Bars
Cherry Pie Bars are a great choice when you want pie flavor without fussing with a whole pie crust or individual slices. They’re quicker to assemble than a full pie, easier to transport, and simpler to portion for guests. The bar format also makes them adaptable: you can swap the filling, adjust sweetness, or make them ahead and reheat briefly before serving. For busy bakers, this recipe delivers nostalgic cherry-pie flavor with minimal equipment and a forgiving technique.
How to make Cherry Pie Bars
These Cherry Pie Bars are straightforward: a buttery shortbread base bakes first, a layer of cherry pie filling goes on top, and an oat crumble finishes the bars before a quick glaze. Follow the step-by-step directions below for consistent results.
Ingredients :
- 1 1/2 cups all-purpose flour
- 1/2 cup powdered sugar
- 1 cup unsalted butter, softened
- 1 can cherry pie filling
- 1/2 cup rolled oats
- 1/2 cup brown sugar
- 1/2 teaspoon cinnamon
- 1/4 cup powdered sugar (for glaze)
- 1 tablespoon milk (for glaze)
Ingredient notes: If you need a dairy-free option, swap the unsalted butter for a firm plant-based butter or chilled coconut oil (cut the coconut flavor with an extra pinch of salt). For a gluten-free version, use a 1:1 gluten-free flour blend and certified gluten-free oats. If you prefer less sweetness, pick a reduced-sugar cherry filling or rinse jarred cherries briefly to remove some syrup before spreading. The glaze can be thinned with a little more milk or a teaspoon of vanilla extract added for extra flavor.
Directions :
- Preheat the oven to 350°F (175°C). Grease a 9×9 inch baking dish.
- In a mixing bowl, combine flour and powdered sugar, then cut in the butter until crumbly. Press into the bottom of the prepared baking dish.
- Bake the crust in the preheated oven for about 15-20 minutes or until lightly golden.
- Spread the cherry pie filling evenly over the crust.
- In another bowl, mix oats, brown sugar, and cinnamon. Sprinkle this mixture over the cherry filling.
- Bake for an additional 25-30 minutes until the topping is golden brown.
- Let it cool before glazing.
- For the glaze, whisk together powdered sugar and milk until smooth and drizzle over the cooled bars.
- Slice into squares and serve.
Pro Tips for Success Cherry Pie Bars
- Soften butter but don’t let it melt: The shortbread base needs cold-but-soft butter so the dough stays crumbly and presses evenly. If it gets too soft, chill the crust for 10–15 minutes before baking.
- Press the crust firmly and evenly: Use the bottom of a measuring cup to press the dough into the pan so the crust bakes with an even thickness and holds the filling.
- Drain excess syrup if needed: If your cherry pie filling is extra-syrupy, spoon the cherries onto a paper towel briefly to reduce runniness; too much liquid can make the bars soggy.
- Watch the topping color: Oats can brown quickly; if the topping is golden but the cherries bubble too much, tent the pan loosely with foil to finish baking without over-browning.
- Cool completely before glazing: The glaze will run off warm bars. Cooling helps the glaze set so you get neat slices.
- Use quality cherry filling for best flavor: A filling with whole cherries and a balance of tartness to sweetness gives a classic pie taste.
Flavor Variations Cherry Pie Bars
- Mixed Berry Swap: Replace the cherry filling with a mixed berry pie filling or a combination of fresh berries tossed with a little sugar and cornstarch for a fresher finish.
- Almond Cherry Bars: Add 1/2 teaspoon almond extract to the shortbread crust and sprinkle sliced almonds on the oat topping before baking for an almond-cherry pairing.
- Rhubarb-Cherry Twist: Combine half cherry filling and half stewed rhubarb (well-drained) for a tangy contrast that cut through the sweetness.
- Streusel Upgrade: Mix 1/4 cup cold butter into the oat topping for a richer streusel rather than a dry oat crumble.
- Chocolate Cherry Bars: Sprinkle 1/3 cup mini chocolate chips over the cherry layer before adding the crumble for a black-forest-inspired treat.
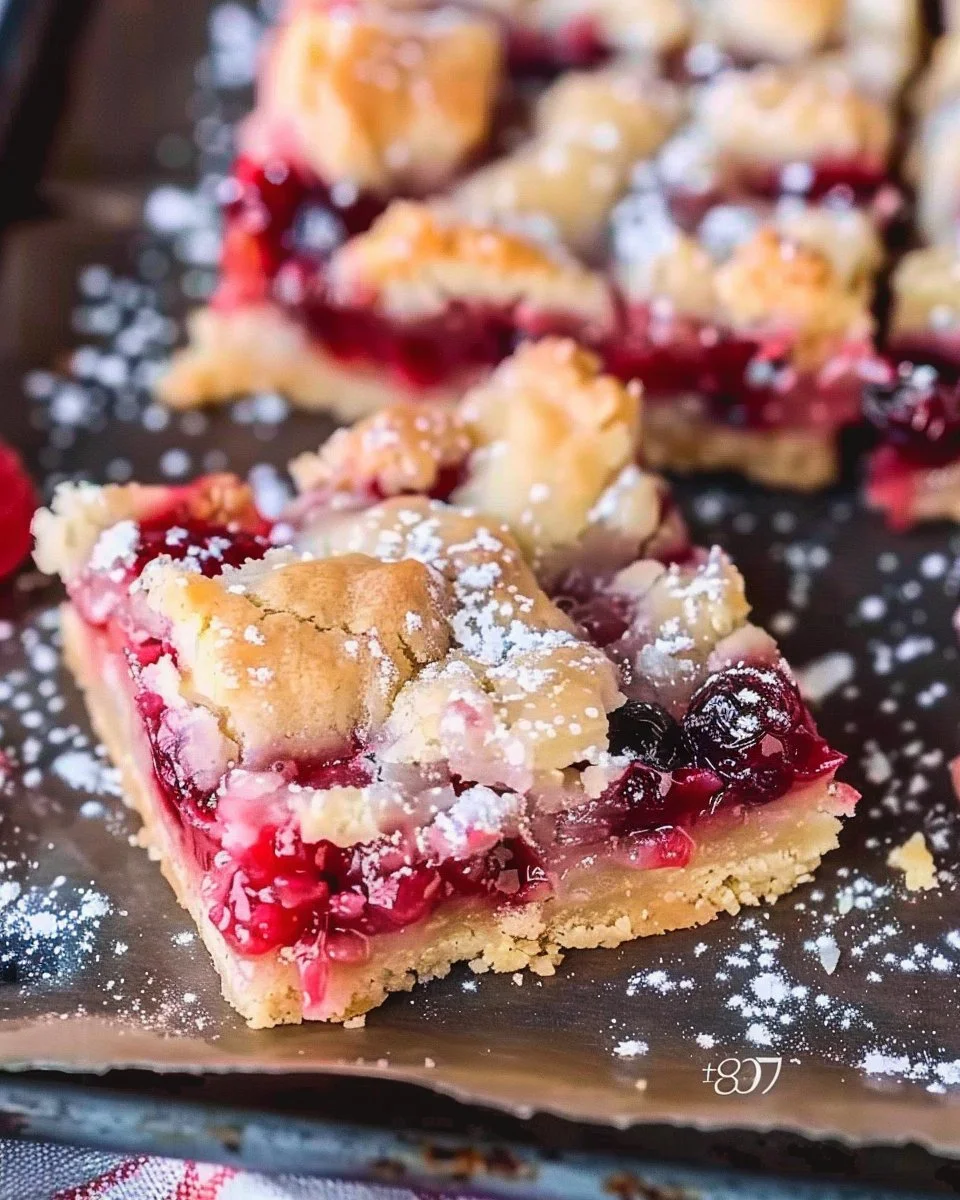
Serving Suggestions Cherry Pie Bars
Serve these bars slightly chilled or at room temperature. They’re delightful on their own, but you can dress them up easily: a scoop of vanilla ice cream or a dollop of whipped cream complements the bright cherry filling. For a brunch spread, pair a square with a dollop of Greek yogurt and a few toasted almonds for texture. These bars also travel well—wrap individual squares in parchment for packed lunches or bake sales. If you enjoy other tray-style desserts, try pairing them with savory bites or lighter fruit salads to balance richness. You could also explore similar comfort-baked ideas like the delicious Irish potato pie for a savory-sweet table variety.
Storage and Freezing Instructions Cherry Pie Bars
- Short-term storage: Keep cooled bars covered tightly at room temperature for up to 2 days. For best texture, store in a single layer or with parchment between layers to avoid sticking.
- Refrigerator: Store in an airtight container for up to 5 days. Refrigeration helps if your kitchen is warm or if you prefer firmer bars.
- Freezing: Wrap individual bars in plastic wrap, then place them in a freezer-safe container or bag. Freeze for up to 3 months. Thaw in the refrigerator overnight and bring to room temperature before serving. If you like a warm bar, reheat gently in a low oven (300°F / 150°C) for about 10 minutes.
- Reheating: Warm single portions in the microwave for 10–20 seconds or reheat slices in a preheated oven for about 8–10 minutes for a freshly-baked taste.
Nutrition Facts (Per Serving)
Estimated values per serving (assuming 9 servings per 9×9 pan):
- Calories: ~410 kcal
- Protein: ~4 g
- Carbohydrates: ~56 g
- Fat: ~18 g
- Fiber: ~2 g
- Sodium: ~150 mg
Nutrition note: These values are approximate and depend on your exact brands and portion sizes. Using reduced-sugar fillings, lower-fat butter substitutes, or cutting the pan into 12 smaller servings will reduce the calories per piece.
FAQ About Cherry Pie Bars
What’s the best way to prevent a soggy bottom crust?
A slightly pre-baked crust helps form a barrier so the cherry filling doesn’t sink into the base. Make sure to press the crust firmly into the pan to create an even seal, and bake it until it’s lightly golden before adding the filling. If the filling is particularly runny, spoon off excess syrup or briefly cook it on the stovetop with 1 teaspoon of cornstarch to thicken before spreading.
Can I make Cherry Pie Bars ahead of time for a party?
Yes—these bars are excellent for make-ahead service. Bake them a day ahead, cool completely, and store in an airtight container in the refrigerator. Bring them to room temperature before serving or warm briefly in the oven for that just-baked feel. If you plan to glaze, wait until just before serving to add the glaze if you want a fresh appearance.
How can I make the bars less sweet without losing cherry flavor?
Start by choosing a cherry filling with lower sugar content or rinse off some syrup from canned cherries. Reduce the brown sugar in the topping by a tablespoon or two to balance sweetness. You can also add a squeeze of lemon juice to the filling to brighten flavor without adding sugar. Finally, serve with unsweetened whipped cream or plain yogurt to offset sweetness on the plate.
Are there gluten-free or vegan versions of this recipe?
Yes. For gluten-free bars, use a 1:1 gluten-free flour blend and certified gluten-free oats to avoid cross-contamination. For a vegan version, substitute plant-based butter or chilled coconut oil for butter and use dairy-free milk for the glaze. Double-check the cherry filling for added gelatin or non-vegan stabilizers; many commercial pie fillings are vegetarian, but labels vary.
Can I use fresh cherries instead of canned cherry pie filling?
You can, but fresh cherries need a little extra preparation. Pit and halve about 3 cups of cherries, combine them with 1/4–1/2 cup sugar and 1–2 teaspoons cornstarch (adjust based on tartness), and simmer briefly until the mixture thickens. Cool the filling before adding to the crust. Fresh cherries offer a brighter, less syrupy finish and reduce overall sweetness but require that extra step to avoid watery bars.
How should I cut neat squares after glazing?
Make sure the bars are fully cooled and the glaze is set; chilling them for 30–60 minutes helps. Use a sharp knife wiped clean between cuts or a bench scraper for straight edges. For an even cleaner cut, warm the knife under hot water, dry it, and make a single confident stroke through the bar, wiping the blade quickly before the next cut.
Is there a lower-fat alternative to the buttery crust that still tastes good?
Yes—use a firm vegetable shortening or a plant-based butter to reduce saturated fat while retaining a tender texture. Another option is a hybrid crust: half butter and half applesauce or mashed banana to lower fat but keep moisture, though this will change flavor and texture slightly. If maintaining a crumbly, authentic shortbread-like base is essential, swapping to a lower-fat product isn’t a perfect match, but it will work in a pinch.
Can I double the recipe, and how do I adjust baking time?
You can double the ingredients and bake in a 9×13 inch pan rather than two 9×9 pans; adjust baking times by checking the crust and topping visually. The initial pre-bake of the crust may need an extra 3–5 minutes, and the final bake could require an additional 5–10 minutes. Watch for a golden crust and bubbling filling and tent with foil if the top reaches color before the center sets.
Final Thoughts
Cherry Pie Bars offer a friendly, reliable way to enjoy cherry pie flavor without the fuss of full pie assembly. They travel well, are highly adaptable with different fillings and toppings, and hit a sweet spot between comfort baking and weeknight simplicity. Whether you’re feeding a crowd or treating yourself, these bars are a great recipe to keep in your baking rotation.
Print
Cherry Pie Bars
- Total Time: 65 minutes
- Yield: 9 servings
- Diet: Vegetarian
Description
Cherry Pie Bars capture classic cherry pie flavor in a simple, easy-to-slice bar form, perfect for potlucks and weeknight treats.
Ingredients
- 1 1/2 cups all-purpose flour
- 1/2 cup powdered sugar
- 1 cup unsalted butter, softened
- 1 can cherry pie filling
- 1/2 cup rolled oats
- 1/2 cup brown sugar
- 1/2 teaspoon cinnamon
- 1/4 cup powdered sugar (for glaze)
- 1 tablespoon milk (for glaze)
Instructions
- Preheat the oven to 350°F (175°C). Grease a 9×9 inch baking dish.
- Combine flour and powdered sugar in a mixing bowl, then cut in the butter until crumbly. Press into the bottom of the prepared baking dish.
- Bake the crust in the preheated oven for about 15-20 minutes or until lightly golden.
- Spread the cherry pie filling evenly over the crust.
- Mix oats, brown sugar, and cinnamon in another bowl. Sprinkle this mixture over the cherry filling.
- Bake for an additional 25-30 minutes until the topping is golden brown.
- Let it cool before glazing.
- Whisk together powdered sugar and milk for the glaze until smooth and drizzle over the cooled bars.
- Slice into squares and serve.
Notes
Use dairy-free butter for a vegan option and gluten-free flour for a gluten-free version.
- Prep Time: 15 minutes
- Cook Time: 50 minutes
- Category: Dessert
- Method: Baking
- Cuisine: American