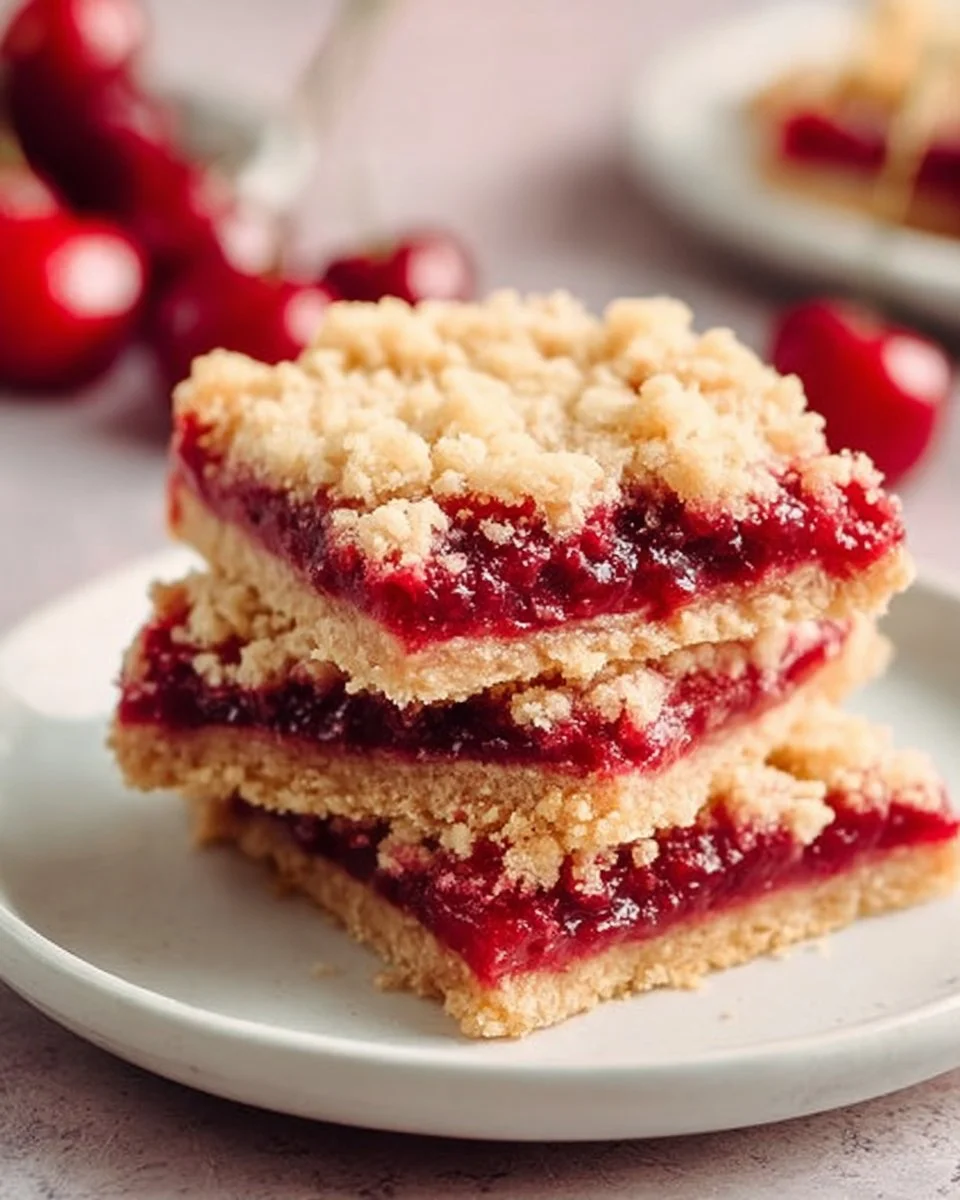
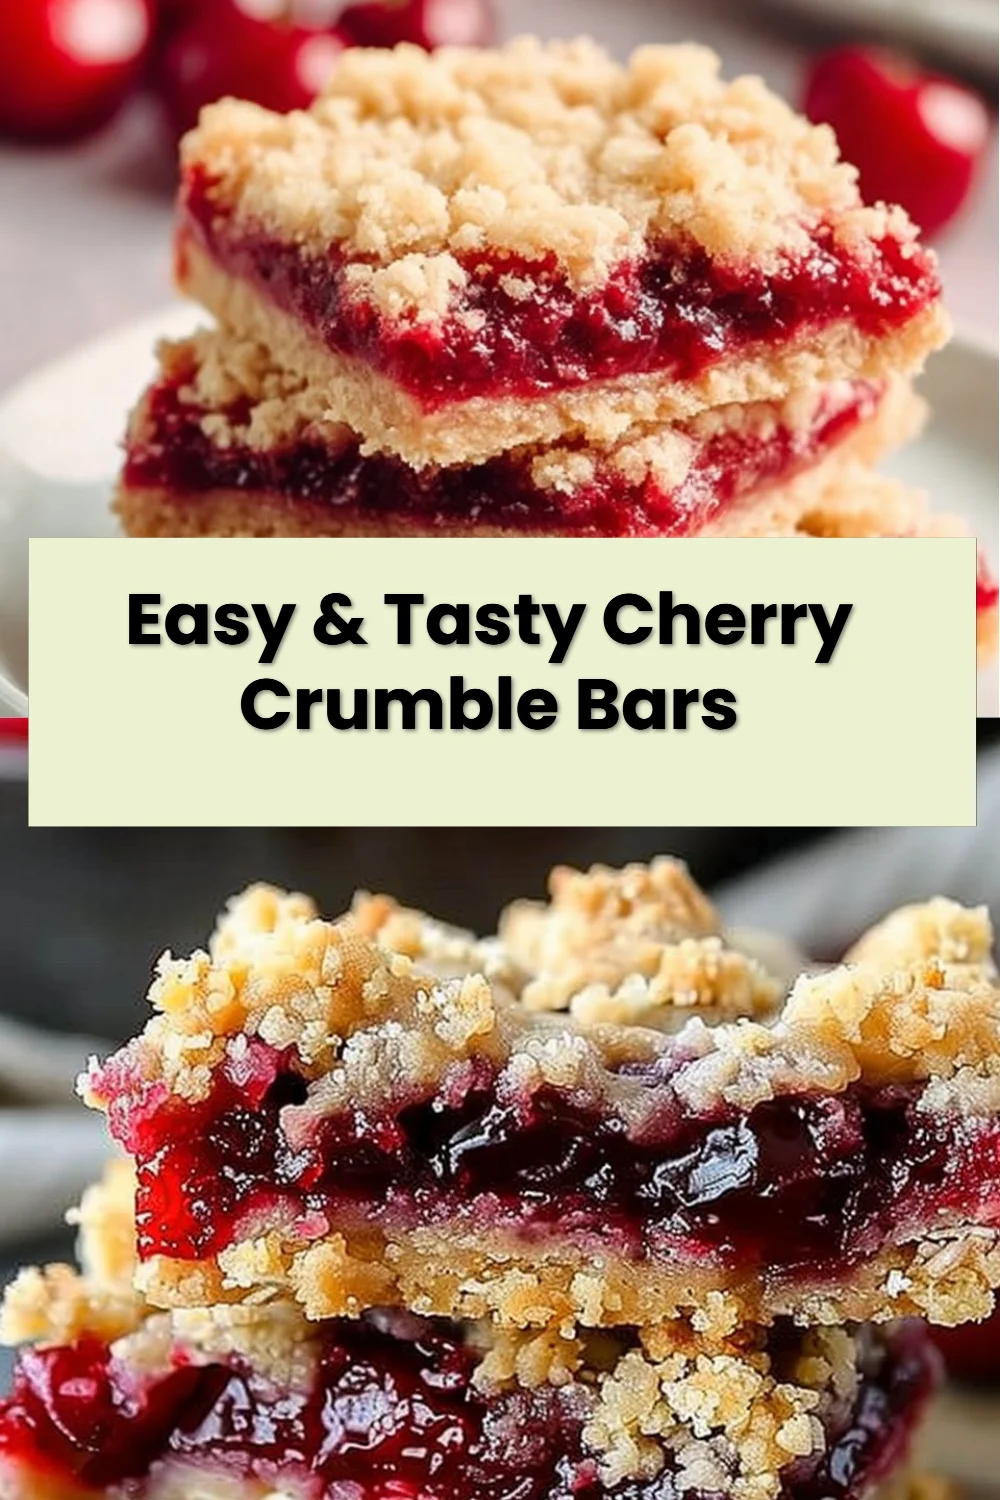
Easy & Tasty Cherry Crumble Bars are a simple, crowd-pleasing dessert that pairs juicy cherries with a buttery oat crumble for an irresistible treat. If you enjoy straightforward recipes that bake up beautifully and feed a crowd, you might also like a savory option like this easy baked chicken breast recipe to round out a meal.
why make this recipe
There are lots of reasons to make Easy & Tasty Cherry Crumble Bars. They strike a perfect balance between fruity tartness and sweet, crunchy topping without complicated steps or specialty equipment. You can use fresh or frozen cherries, and the ingredients are pantry-friendly—flour, oats, butter, sugar—so it’s often possible to start baking without a long trip to the store.
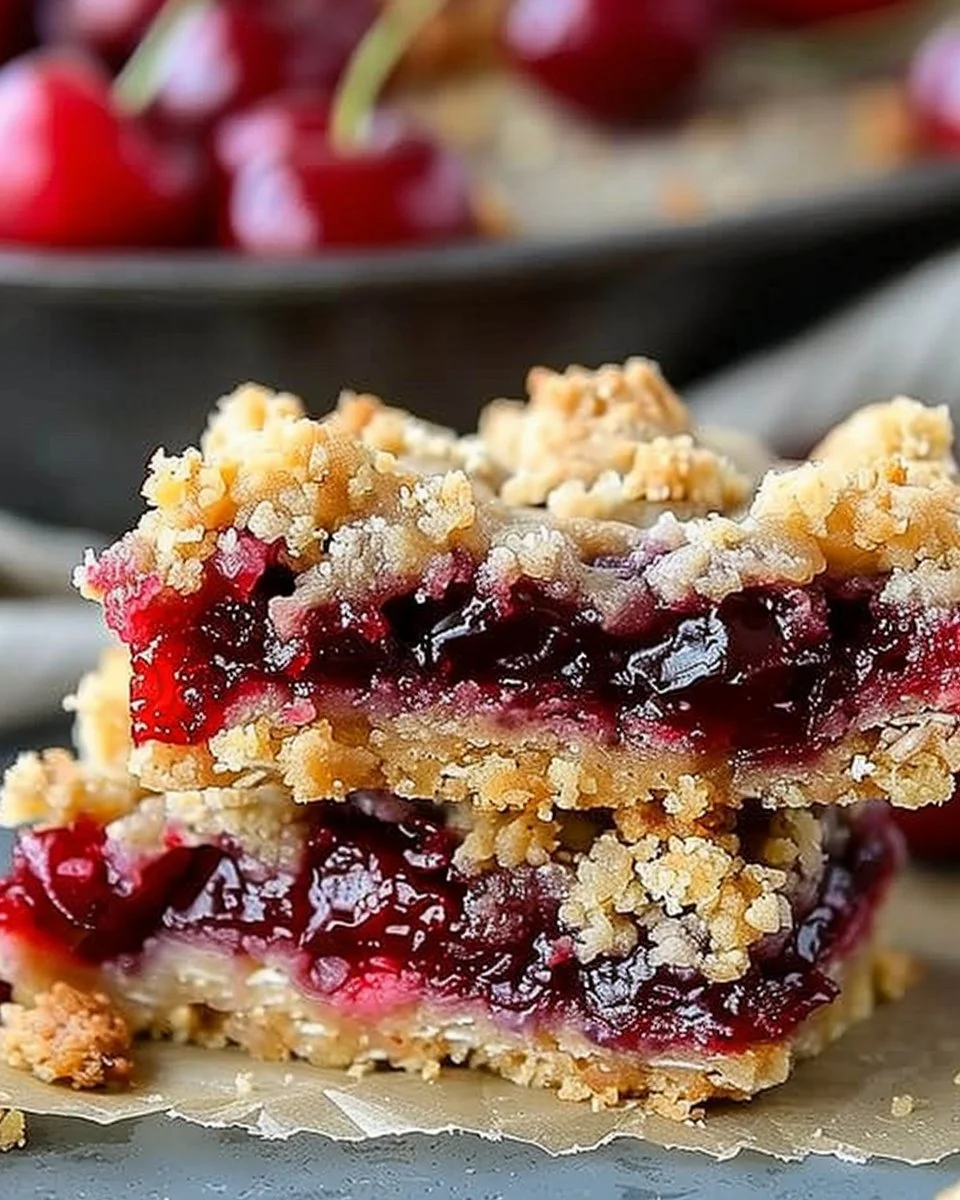
These bars are forgiving. Even if you’re new to baking, the crumble texture hides small mistakes and still produces a satisfying dessert. They’re ideal for potlucks, weeknight desserts, picnics, and when you want to bring something homemade without spending all day in the kitchen. The recipe scales well, freezes nicely, and provides great flavor even the next day.
how to make Easy & Tasty Cherry Crumble Bars
This section walks you through the big-picture steps so the baking process feels calm and clear. The steps are easy to follow: make the cherry filling, prepare the crumble, assemble, and bake. The crumble comes together quickly once the butter is mixed into the dry ingredients, and the filling thickens while the oven does its work.
Start by preheating the oven so it’s ready when your pan is assembled. Mix the cherries with sugar, cornstarch, and lemon juice—this helps release fruit juices while thickening the filling. Make the crumble by stirring flour, oats, brown sugar, and cinnamon, then add melted butter until the mixture forms coarse crumbs. Press some crumble into the pan as a base if you like a more bar-like structure, or simply sprinkle it evenly over the cherries for a traditional crumble-bar look. Bake until the topping is golden and bubbling around the edges, then let cool so the filling sets before slicing.
Ingredients :
- 2 cups cherries, pitted and chopped
- 1 cup sugar
- 1 tablespoon cornstarch
- 1 tablespoon lemon juice
- 1 cup all-purpose flour
- 1/2 cup rolled oats
- 1/2 cup brown sugar
- 1/2 teaspoon cinnamon
- 1/2 cup butter, melted
Ingredient notes and substitutions:
- Cherries: Fresh sweet cherries are ideal in season, but frozen cherries (thawed and drained) work very well. If using frozen, increase cornstarch by 1 teaspoon to account for extra moisture.
- Sugars: You can replace some or all of the granulated sugar with maple syrup or honey, but reduce other liquids slightly and keep an eye on baking time since liquid sugar alternatives change texture.
- Butter: For a dairy-free version, use a plant-based margarine or coconut oil (solid, not liquid) measured by weight for best results. The texture will be slightly different but still delicious.
- Oats and flour: Use gluten-free oats and a gluten-free all-purpose flour blend if needed for dietary restrictions.
- Lemon juice: Adds brightness; a splash of apple cider vinegar can substitute in a pinch.
- No pork/alcohol considerations: This is naturally free of pork and alcohol; any savory pairing or substitution directions should follow the family-friendly rules mentioned earlier.
Directions :
- Preheat oven to 350°F (175°C).
- In a bowl, mix cherries, sugar, cornstarch, and lemon juice. Pour into a greased baking dish.
- In another bowl, combine flour, oats, brown sugar, and cinnamon. Stir in melted butter until crumbly.
- Sprinkle crumble mixture over the cherries.
- Bake for 30-35 minutes or until the topping is golden.
- Let it cool before serving.
Pro Tips for Success Easy & Tasty Cherry Crumble Bars
- Pit cherries efficiently: Use a straw or chopstick to push pits out of whole cherries quickly, or buy pre-pitted cherries to save time. If you’re working with a large batch, consider a cherry pitter tool to speed things up.
- Prevent a soggy bottom: If you prefer a firmer base, press about two-thirds of the crumble mixture into the pan to form a compact crust before adding the cherry filling, then sprinkle the remaining crumble on top. This creates a bar-like structure that slices cleanly.
- Drain frozen fruit well: Thaw frozen cherries in a colander over a bowl and gently toss to remove excess liquid. Pat them lightly with paper towels before combining with the sugar and cornstarch to avoid a runny filling.
- Even baking: Use an oven thermometer to ensure your oven is accurately set at 350°F (175°C). Rotate the pan halfway through baking if your oven has hot spots so the topping browns evenly.
- Cool completely for neat slices: Let the bars cool fully to allow the filling to thicken. If you’re in a hurry, pop the pan in the refrigerator for 30–60 minutes to speed up setting; warm bars will be delicious but harder to slice neatly.
- Make ahead: The bars hold their texture well and often taste even better the next day as flavors meld. Reheat gently if you prefer them warm.
Flavor Variations Easy & Tasty Cherry Crumble Bars
- Almond Cherry: Add 1/2 teaspoon almond extract to the cherry filling and sprinkle slivered almonds over the crumble before baking for a nutty accent.
- Chocolate Cherry: Mix 1/3 cup mini chocolate chips into the crumble (reserve some to sprinkle on top after baking) or dust a little cocoa powder into the crumble mixture for a subtle chocolate note.
- Mixed Berry: Substitute half the cherries with blueberries or raspberries for a mixed berry version. Adjust sugar to taste if using very tart berries.
- Oat Streusel Upgrade: Toast the oats lightly in a dry skillet before combining with the flour and sugar for a deeper, nuttier topping flavor.
- Citrus Brightness: Add the zest of one lemon or orange to the filling for a citrus lift that brightens the cherries and adds fragrance.
Serving Suggestions Easy & Tasty Cherry Crumble Bars
These bars are versatile for many occasions. Serve them warm with a scoop of vanilla ice cream or a dollop of whipped cream for a classic dessert. For afternoon tea, cut smaller squares and dust lightly with powdered sugar. They also work well on a brunch spread alongside savory items like quiche, or keep things simple with coffee or tea.
If you’d like a cozy fall pairing, a bowl of warm soup and one of these bars makes a surprisingly satisfying combo: try them after a bowl of velvety butternut squash and sweet potato soup for a sweet-and-savory meal that’s comforting and balanced.
Storage and Freezing Instructions Easy & Tasty Cherry Crumble Bars
Short-term storage:
- Room temperature: Covered loosely with foil or plastic wrap, the bars will keep well for 1–2 days at room temperature. Keep them out of direct sunlight and away from heat sources.
- Refrigerator: Store in an airtight container for up to 4–5 days. Chilling helps the filling set and makes slicing cleaner later.
Freezing:
- To freeze individual bars, allow the pan to cool completely, then cut into serving-size pieces. Lay pieces on a baking sheet lined with parchment and flash-freeze for 1–2 hours until firm. Transfer to a freezer-safe container or zip-top bag with parchment between layers to prevent sticking. Frozen bars keep well for up to 3 months.
- To reheat: Thaw in the refrigerator overnight or reheat from frozen in a 325°F (165°C) oven for 10–15 minutes until warmed through. If reheating in the microwave, use medium power in short bursts to avoid a soggy topping.
Tips for best texture after freezing:
- Toast briefly under a broiler or in a hot oven for 3–5 minutes to revive crispness on the crumble if it softens after freezing.
- Serve slightly warm with cold ice cream for a delicious contrast.
Nutrition Facts (Per Serving) — approximate
- Serving size: 1 bar (assuming 9 servings per recipe)
- Calories: 315 kcal
- Protein: 3 g
- Carbohydrates: 54 g
- Fat: 11 g
- Fiber: 1.5 g
- Sodium: 25 mg
Nutrition note: These values are estimates based on typical ingredient weights and assume the recipe is divided into nine equal portions. Using substitutions (e.g., using less sugar, swapping in whole-grain flour, or a plant-based butter) will change the nutrition profile. If you need precise nutritional data for dietary reasons, weigh your ingredients and use a trusted nutrition calculator.
FAQ About Easy & Tasty Cherry Crumble Bars
Can I use canned cherries instead of fresh or frozen?
Yes, you can use canned cherries, but drain them well and taste for sweetness before adding the recipe’s cup of sugar—canned cherries are often packed in syrup and may already be sweet. If they are in heavy syrup, rinse and drain them to reduce excess sweetness, then adjust the added sugar accordingly. Because canned fruit can be softer and release more liquid, you may want to add an extra 1 teaspoon of cornstarch to help thicken the filling.
How do I make the crumble topping extra crispy?
To get a crispier crumble, use cold butter cut into the dry ingredients with a pastry cutter or your fingertips so the pieces stay slightly chunkier and create more texture as they bake. You can also sprinkle a tablespoon of granulated sugar or turbinado sugar on top right before baking—a coarse sugar will caramelize and give a nice crunch. Toasting the oats briefly in a dry skillet before mixing them into the crumble adds nuttiness and helps them hold their texture.
My filling was runny—what went wrong?
A runny filling usually means not enough thickener or too much water in the fruit. If you used frozen cherries and didn’t drain them well, the extra moisture can thin the filling. Next time, toss thawed cherries in additional cornstarch (1–2 teaspoons more) or use a tablespoon of tapioca starch for a clearer, gel-like set. Also allow the bars to cool fully; the filling firms as it cools. If the filling is very liquid after cooling, bake an additional 5–10 minutes and let it cool again before slicing.
Can I make these bars gluten-free?
Yes—use a certified gluten-free all-purpose flour blend in place of regular flour, and select certified gluten-free oats (cross-contamination is common with oats). The texture will be slightly different depending on your flour blend (some blends absorb more liquid), so you may need to adjust baking time by a few minutes and check for a golden topping and bubbling filling.
How should I slice the bars for clean edges?
For neat slices, chill the baked bars in the refrigerator for at least an hour to firm the filling. Use a sharp knife and wipe the blade clean between cuts for tidy edges. If you prefer warm bars, cut them with a knife dipped in hot water and dried; heat helps slice through the crumble without dragging.
Can I reduce the sugar without ruining the texture?
You can reduce the sugar by about 25% without dramatically changing texture, especially in the crumble where sweetness is more forgiving. Keep in mind the filling’s balance—cherries vary in tartness, so reducing sugar too much may result in a more tart final product. Alternatively, replace half the sugar with a lower-calorie sweetener formulated for baking, but test a small batch first, as some substitutes change moisture levels and browning.
What pan size works best for these bars?
A standard 8×8-inch baking dish works well and yields thicker bars, while a 9×13-inch pan will create thinner bars and more servings. Adjust the baking time accordingly: a larger pan reduces baking time slightly, while a smaller pan requires the stated 30–35 minutes or a few extra minutes until the topping is golden and the filling bubbles.
Can I add nuts or seeds to the topping?
Yes, adding chopped walnuts, pecans, or even pumpkin seeds adds flavor and textural contrast. Stir them into the crumble mixture before adding the melted butter so they toast and bind into the topping. Keep portion sizes moderate so the bars remain easy to slice and the topping still bakes evenly.
Final Thoughts
Making Easy & Tasty Cherry Crumble Bars is a great way to enjoy seasonal fruit or bring homemade dessert to any gathering without fuss. The recipe is flexible, forgiving, and welcomes experimentation—swap fruits, add flavors, or change the crumble texture to suit your taste. With straightforward ingredients and simple steps, these bars are a dependable favorite whether you’re a confident home baker or just getting started. Enjoy baking, and don’t be shy about making this recipe your own.
Print
Easy & Tasty Cherry Crumble Bars
- Total Time: 45 minutes
- Yield: 9 servings
- Diet: Vegetarian
Description
Simple, crowd-pleasing dessert that combines juicy cherries with a buttery oat crumble.
Ingredients
- 2 cups cherries, pitted and chopped
- 1 cup sugar
- 1 tablespoon cornstarch
- 1 tablespoon lemon juice
- 1 cup all-purpose flour
- 1/2 cup rolled oats
- 1/2 cup brown sugar
- 1/2 teaspoon cinnamon
- 1/2 cup butter, melted
Instructions
- Preheat the oven to 350°F (175°C).
- Mix cherries, sugar, cornstarch, and lemon juice in a bowl. Pour into a greased baking dish.
- Combine flour, oats, brown sugar, and cinnamon in another bowl. Stir in melted butter until crumbly.
- Sprinkle crumble mixture over the cherries.
- Bake for 30-35 minutes or until the topping is golden.
- Let it cool before serving.
Notes
For a firmer base, press two-thirds of the crumble mixture into the pan before adding the cherry filling.
- Prep Time: 10 minutes
- Cook Time: 35 minutes
- Category: Dessert
- Method: Baking
- Cuisine: American