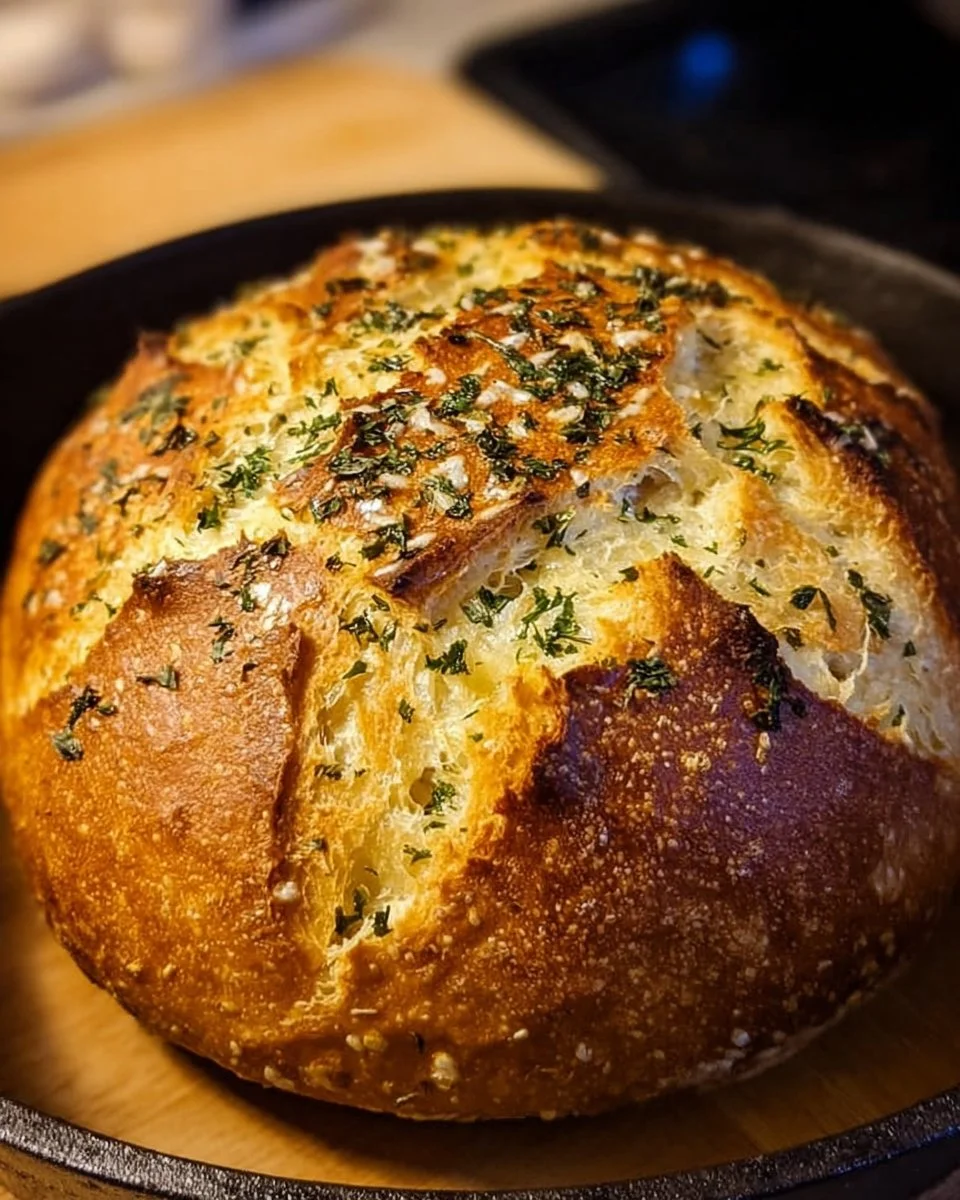
Garlic Herb Dutch Oven Bread Recipe You’ll Love Today!
Making homemade bread can feel like a daunting task, but with this Garlic Herb Dutch Oven Bread recipe, you’ll find it a rewarding and delightful experience. The warm, aromatic scents of garlic and fresh herbs wafting through your kitchen will make it hard to resist digging in as soon as the bread comes out of the oven!
Why Make This Recipe
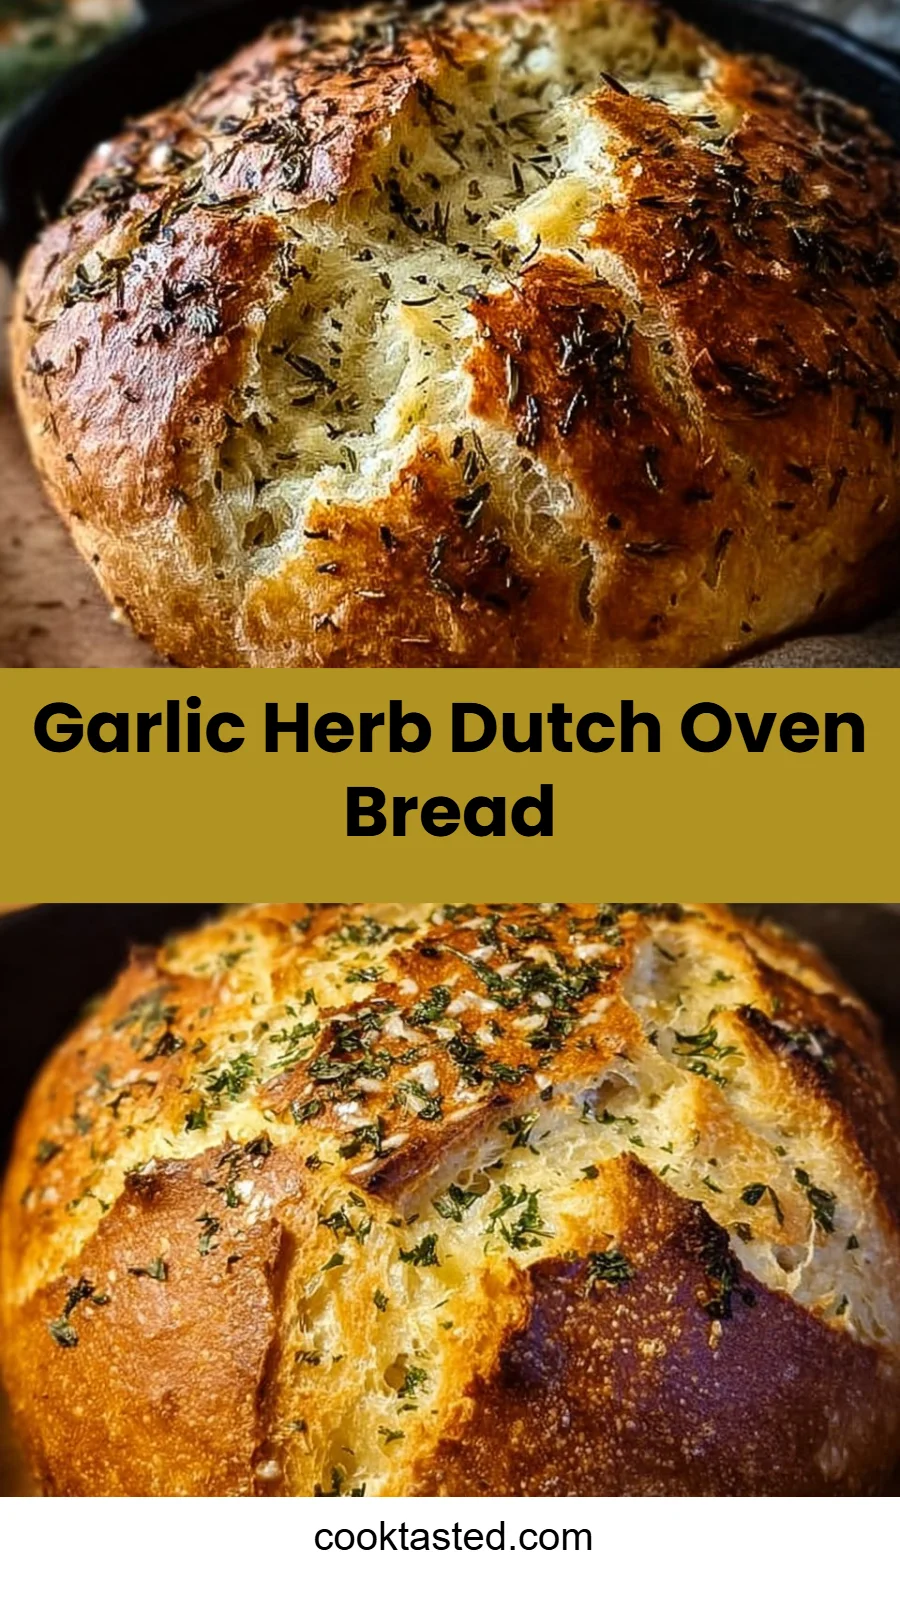
Bread-making is not only a practical skill but also a form of creativity and love. This Garlic Herb Dutch Oven Bread is particularly special because it combines simple ingredients, minimal effort, and a robust flavor profile. Whether you’re a novice baker or a seasoned bread lover, this recipe is an ideal companion for meals or a satisfying snack. Plus, the crispy crust and soft, airy inside create the perfect texture that many store-bought breads simply can’t match.
When made in a Dutch oven, the bread develops a unique crust that seals in moisture, allowing it to rise beautifully. The combination of garlic and fresh herbs takes this basic bread recipe to a new level of flavor, making it an excellent centerpiece for a family dinner or a tasty accompaniment for soups and salads.
How to Make Garlic Herb Dutch Oven Bread
Ingredients:
- 3 cups all-purpose flour, plus extra for dusting
- 2 teaspoons fine sea salt
- 1/2 teaspoon instant yeast
- 1 1/2 cups lukewarm water (90-100°F)
- 4 cloves garlic, minced finely or pressed
- 2 tablespoons fresh herbs (rosemary, thyme, or a combination), chopped finely
- 1 tablespoon olive oil, for coating
Directions:
- In a large mixing bowl, whisk together the flour, salt, and instant yeast. Add in the minced garlic and chopped herbs, stirring throughout the mixture.
- Pour the lukewarm water into the dry ingredients and mix with a wooden spoon until no dry flour remains. The dough will appear sticky and rough.
- Cover the bowl tightly with plastic wrap or a damp towel. Let the dough rise at room temperature for 12 to 18 hours until it has doubled in size and is bubbly on top.
- Generously flour a clean work surface and your hands. Gently scrape the dough onto the floured surface and fold the edges toward the center to create a round shape.
- Transfer the shaped dough onto oiled parchment paper, cover it loosely with a towel, and let it rest for 45 minutes to 1 hour.
- About 30 minutes before baking, place your Dutch oven with its lid into the oven and preheat to 450°F.
- Carefully remove the hot Dutch oven from the oven. Using the parchment paper as a sling, lower the risen dough into the pot. Score the top with a sharp knife.
- Cover with the lid and bake for 30 minutes. Remove the lid and bake uncovered for an additional 15 to 20 minutes until the bread is deep golden brown.
- Remove the bread from the Dutch oven and transfer it to a wire rack. Allow it to cool for at least 30 minutes before slicing.
Pro Tips for Success Garlic Herb Dutch Oven Bread
- Use Fresh Ingredients: The quality of your garlic and herbs can greatly enhance the flavor. Opt for fresh garlic and herbs instead of dried for the best taste.
- Check Water Temperature: Ensure that your water is lukewarm (between 90-100°F). If it’s too hot, it can kill the yeast, preventing the dough from rising properly.
- Don’t Rush the Rising Time: Allowing the dough to rise for 12 to 18 hours is essential for building flavor and achieving a perfect texture. Patience here pays off.
- Use a Good Dutch Oven: A heavy Dutch oven will distribute heat evenly, resulting in a well-cooked loaf with a fantastic crust.
- Be Generous with Flour: Don’t hesitate to use extra flour when handling the dough. It tends to be sticky, and this will make it easier to shape without sticking to your hands.
Flavor Variations Garlic Herb Dutch Oven Bread
- Cheesy Garlic Bread: Add grated Parmesan or cheddar cheese to the dough for a cheesy twist that will make for a delicious appetizer.
- Spicy Herb Bread: Mix in some crushed red pepper flakes or freshly chopped chili for those who enjoy a little heat in their bread.
- Sun-Dried Tomato and Basil: Incorporate chopped sun-dried tomatoes and fresh basil to change up the flavor profile to a Mediterranean style.
- Olive and Rosemary Bread: Add chopped olives and extra rosemary for an even more savory version that pairs wonderfully with Italian dishes.
- Sweet Herb Bread: For a touch of sweetness, consider adding honey or a sprinkle of sugar along with herbs, perfect for serving with breakfast.
Serving Suggestions Garlic Herb Dutch Oven Bread
This Garlic Herb Dutch Oven Bread is incredibly versatile and can be served in numerous ways. A few serving suggestions include:
- Dipping: Slice the bread and serve it with a selection of dips such as hummus, pesto, or olive oil mixed with balsamic vinegar.
- Sandwiches: Use it as the base for sandwiches, or toast thick slices and top with avocado, tomatoes, or spreads.
- Side Dish: Pair it with soups, salads, or pasta dishes for a hearty side that complements almost any meal.
- Bruschetta: Toast slices of the bread and top with diced tomatoes, garlic, basil, and a drizzle of olive oil for a classic appetizer.
- Garlic Bread: Spread a garlic butter mixture on slices and bake them until golden for a quick garlic bread side.
Storage and Freezing Instructions Garlic Herb Dutch Oven Bread
To keep your Garlic Herb Dutch Oven Bread fresh:
- Storing: Allow the bread to cool completely before storing. Wrap it in a clean kitchen towel and place it in a paper bag. The bread can last at room temperature for up to three days.
- Freezing: To freeze, slice the bread and store it in a resealable plastic bag, removing as much air as possible. It can be frozen for up to three months. When you’re ready to enjoy, simply thaw the slices at room temperature or pop them in the toaster for a couple of minutes.
Nutrition Facts (Per Serving)
| Nutrient | Amount |
| — | — |
| Calories | 150 |
| Protein | 4g |
| Carbohydrates | 29g |
| Fat | 2g |
| Fiber | 1g |
| Sodium | 300mg |
FAQ About Garlic Herb Dutch Oven Bread
Can I use bread flour instead of all-purpose flour?
Yes, bread flour can be used for this recipe. It typically has a higher protein content, which may yield an even chewier texture. Just keep in mind that the absorption rate of bread flour can be different, so you might need to adjust the liquid slightly.
What types of herbs work best in this recipe?
You can choose from various fresh herbs to blend into the dough, but rosemary and thyme are popular choices. Other herbs like oregano or sage can also complement the garlic nicely. The key is to pick herbs that you enjoy, as they will dictate the flavor of the bread.
What if I don’t have a Dutch oven?
If you don’t have a Dutch oven, you can use a regular baking pan instead. To mimic the effect of steam, place a shallow pan with water on the bottom rack of your oven while baking, as this will help create a crusty exterior.
How do I know when the bread is done?
Your bread is done when it has a deep golden color on the crust and sounds hollow when tapped on the bottom. Using a food thermometer, the internal temperature should reach around 200°F to ensure it is fully cooked.
Can I add other ingredients to the dough?
Absolutely! Feel free to experiment by adding ingredients like nuts, seeds, or dried fruits. Just remember that adding too many dry ingredients may affect the moisture and rising of the bread.
Final Thoughts
The Garlic Herb Dutch Oven Bread recipe is a true testament to the magic of homemade bread-making. Simple yet delicious, it’s perfect for any occasion! With the aid of your Dutch oven, you can create a fantastic loaf with minimal fuss, allowing you to enjoy freshly baked bread with the delightful aroma of garlic and herbs filling your home. So why wait? Gather your ingredients, follow the steps, and make this wonderful bread that everyone will love!
Print
Garlic Herb Dutch Oven Bread
- Total Time: 60 minutes
- Yield: 8 servings
- Diet: Vegetarian
Description
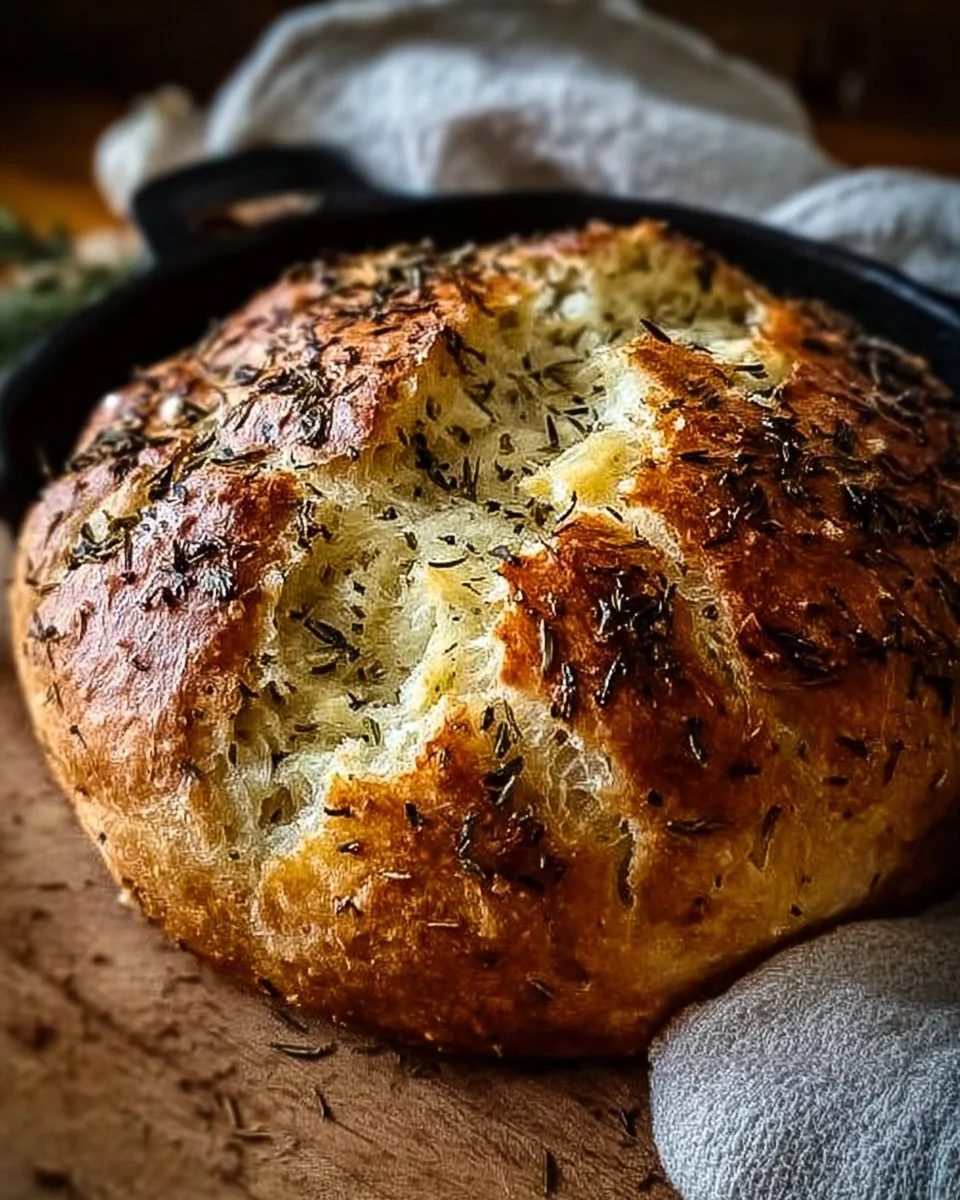
Enjoy the delightful experience of making homemade Garlic Herb Dutch Oven Bread, featuring a crispy crust, soft inside, and infused with aromatic garlic and fresh herbs.
Ingredients
- 3 cups all-purpose flour, plus extra for dusting
- 2 teaspoons fine sea salt
- 1/2 teaspoon instant yeast
- 1 1/2 cups lukewarm water (90-100°F)
- 4 cloves garlic, minced finely
- 2 tablespoons fresh herbs (rosemary, thyme, or a combination), chopped finely
- 1 tablespoon olive oil, for coating
Instructions
- In a large mixing bowl, whisk together the flour, salt, and instant yeast. Add in the minced garlic and chopped herbs, stirring throughout the mixture.
- Pour the lukewarm water into the dry ingredients and mix with a wooden spoon until no dry flour remains. The dough will appear sticky and rough.
- Cover the bowl tightly with plastic wrap or a damp towel. Let the dough rise at room temperature for 12 to 18 hours until it has doubled in size and is bubbly on top.
- Generously flour a clean work surface and your hands. Gently scrape the dough onto the floured surface and fold the edges toward the center to create a round shape.
- Transfer the shaped dough onto oiled parchment paper, cover it loosely with a towel, and let it rest for 45 minutes to 1 hour.
- About 30 minutes before baking, place your Dutch oven with its lid into the oven and preheat to 450°F.
- Carefully remove the hot Dutch oven from the oven. Using the parchment paper as a sling, lower the risen dough into the pot. Score the top with a sharp knife.
- Cover with the lid and bake for 30 minutes. Remove the lid and bake uncovered for an additional 15 to 20 minutes until the bread is deep golden brown.
- Remove the bread from the Dutch oven and transfer it to a wire rack. Allow it to cool for at least 30 minutes before slicing.
Notes
Use fresh ingredients for the best flavor. Make sure to check the water temperature and allow sufficient rising time for optimal results.
- Prep Time: 15 minutes
- Cook Time: 45 minutes
- Category: Bread
- Method: Baking
- Cuisine: Italian