No Bake Peanut Butter Oat Cups – Simple & Delicious
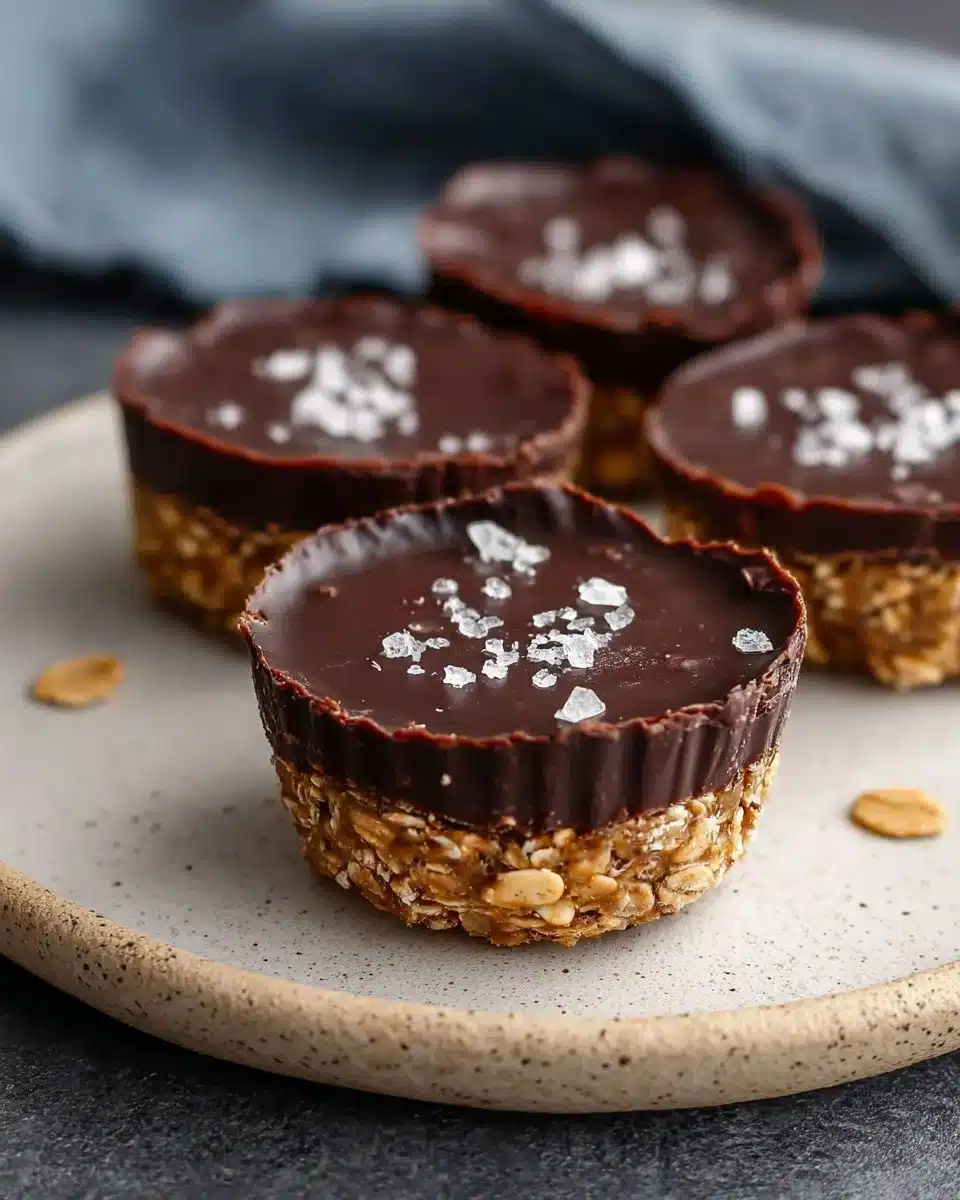
No Bake Peanut Butter Oat Cups are a delightful treat that everyone can enjoy. They are not only quick and easy to prepare but also feature wholesome ingredients that make them a healthier alternative to traditional desserts. These cups combine the rich flavors of peanut butter and chocolate with the satisfying texture of oats, making them an ideal snack or dessert option for families and individuals of all ages.
Why Make This Recipe
There are countless reasons to make these No Bake Peanut Butter Oat Cups. First, they require no baking, which means you can whip them up in no time, perfect for busy weeknights or impromptu gatherings. Second, they are packed with nutritious ingredients that provide lasting energy—ideal for kids and adults alike. Using natural peanut butter and honey also guarantees that you’re treating yourself to something healthier compared to conventional sweets loaded with sugar and unhealthy fats. Plus, they are incredibly customizable, allowing you to tweak the recipe to match your taste preferences. All in all, these cups offer a deliciously simple way to satisfy your sweet tooth without the guilt.
How to Make No Bake Peanut Butter Oat Cups
Making No Bake Peanut Butter Oat Cups is a straightforward process that anyone can master. With just a few ingredients and steps, you’ll have a batch of yummy treats ready to enjoy!
Ingredients
- 1/2 cup natural honey
- 1/3 cup natural, smooth peanut butter
- 2 1/4 cups rolled oats
- 1 tsp vanilla extract
- 3/4 cup dark chocolate
- 2 tsp coconut oil
- Sea salt for garnish (optional)
Directions
-
In a mixing bowl, stir together the rolled oats, honey, peanut butter, and vanilla extract until all ingredients are evenly coated. The mixture should be sticky but manageable.
-
Lightly grease a muffin tin to ensure easy removal later. Divide your oat mixture evenly among the muffin cups, pressing it down firmly to form compact cups.
-
In a microwave-safe bowl, combine dark chocolate and coconut oil. Heat in short bursts, stirring between intervals until the mixture is smooth and fully melted.
-
Carefully spread the melted chocolate over the pressed oat mixture in each muffin cup. If you’re a fan of a salty-sweet flavor, sprinkle a pinch of sea salt on top.
-
Place the muffin tin in the freezer for about 1 hour, or until the oat cups have set and become firm.
-
Once firm, remove the cups from the muffin tin. Store any leftovers in the fridge or freezer for a quick snack on the go.

Pro Tips for Success with No Bake Peanut Butter Oat Cups
-
Choose Quality Ingredients: Opt for high-quality peanut butter without added sugars or oils to keep your treat wholesome.
-
Adjust Sweetness: You can reduce the amount of honey if you prefer a less sweet flavor. Conversely, add a little more if you like your treats sweeter.
-
Press Firmly: Ensure that you press the mixture firmly into each muffin cup for best results. This helps the oat cups hold their shape once set.
-
Experiment with Toppings: Feel free to add toppings like chopped nuts, dried fruits, or seeds before chilling for added flavor and crunch.
-
Use Different Nut Butters: If you have allergies or dietary restrictions, consider using almond or cashew butter as an alternative to peanut butter.
Flavor Variations for No Bake Peanut Butter Oat Cups
-
Chocolate Chip Delight: Mix in a handful of semi-sweet or milk chocolate chips with the oat mixture for a burst of chocolate in every bite.
-
Nutty Crunch: Toss in some chopped walnuts or almonds to add a crunchy texture.
-
Fruity Twist: Add dried fruits like cranberries, raisins, or banana slices to sweeten and enrich the flavor profile.
-
Coconut Lover: Incorporate shredded coconut into your oat mixture for an added tropical taste.
-
Spiced Up: Feel free to sprinkle in some cinnamon or nutmeg for warmth and extra flavor.
Serving Suggestions for No Bake Peanut Butter Oat Cups
These no bake cups can be enjoyed in various ways. Serve them as an afternoon snack with a glass of milk or crumble them over your favorite yogurt for breakfast. They also make fantastic additions to lunchboxes or picnic baskets, providing a wholesome energy boost for on-the-go moments. For a fun dessert, pair them with a scoop of vanilla ice cream.
Storage and Freezing Instructions for No Bake Peanut Butter Oat Cups
Store your No Bake Peanut Butter Oat Cups in an airtight container in the refrigerator for up to a week. If you desire to keep them longer, consider freezing them. Arrange the cups in a single layer in a freezer-safe container, separating layers with parchment paper. They can be frozen for up to three months. For quick snacks, simply pull out and let them sit at room temperature for a few minutes before indulging.
Nutrition Facts (Per Serving)
| Nutrient | Amount |
|———–|———|
| Calories | 180 |
| Protein | 5g |
| Carbs | 20g |
| Fat | 9g |
| Fiber | 3g |
| Sodium | 50mg |
FAQ About No Bake Peanut Butter Oat Cups
Can I use maple syrup instead of honey in this recipe?
Absolutely! Maple syrup is a great vegan alternative to honey. It will add a slightly different flavor profile, but the oat cups will still be delicious. Just make sure to use pure maple syrup for the best results.
How long does it take for the oat cups to set in the freezer?
Typically, 1 hour should be sufficient for the oat cups to harden properly in the freezer. However, you can leave them longer if needed. Just be sure to check on them to ensure they don’t freeze too hard.
Can I make these oat cups gluten-free?
Yes! To make No Bake Peanut Butter Oat Cups gluten-free, simply use certified gluten-free rolled oats. This way, everyone can enjoy these tasty treats, regardless of dietary restrictions.
What can I use if I don’t have a muffin tin?
If you don’t have a muffin tin, you can use silicone molds, small cups, or even shape them into bars by pressing the mixture into a lined baking dish. Just adjust the serving size accordingly.
How do I know if I’ve used enough oats in my mixture?
Your mixture should be sticky and hold together when pressed. You can adjust the quantity of oats to your taste; if it’s too wet, add a bit more oats until you achieve the desired consistency.
Final Thoughts
No Bake Peanut Butter Oat Cups are an easy, tasty treat that brings together the perfect blend of wholesome ingredients. Whether you’re looking for a quick snack or a delightful dessert, these cups deliver both flavor and nourishment. By following this simple recipe, you’ll have a satisfying option to enjoy any time of day. So gather your ingredients, roll up your sleeves, and experience the joy of making these delicious oat cups today!
PrintNo Bake Peanut Butter Oat Cups
- Total Time: 60 minutes
- Yield: 12 servings
- Diet: Vegetarian
Description
Quick and easy No Bake Peanut Butter Oat Cups made with wholesome ingredients for a healthier treat.
Ingredients
- 1/2 cup natural honey
- 1/3 cup natural, smooth peanut butter
- 2 1/4 cups rolled oats
- 1 tsp vanilla extract
- 3/4 cup dark chocolate
- 2 tsp coconut oil
- Sea salt for garnish (optional)
Instructions
- In a mixing bowl, stir together the rolled oats, honey, peanut butter, and vanilla extract until all ingredients are evenly coated.
- Lightly grease a muffin tin and divide your oat mixture evenly among the muffin cups, pressing down firmly.
- In a microwave-safe bowl, combine dark chocolate and coconut oil. Heat until smooth and melted.
- Carefully spread the melted chocolate over the oat mixture in each muffin cup. Optional: sprinkle with sea salt.
- Place the muffin tin in the freezer for about 1 hour, or until set.
- Once firm, remove the cups from the muffin tin and store any leftovers in the fridge or freezer.
Notes
Choose quality ingredients and adjust sweetness to your liking. Experiment with toppings for added flavor.
- Prep Time: 15 minutes
- Cook Time: 0 minutes
- Category: Dessert
- Method: No-bake
- Cuisine: American